Solder Paste
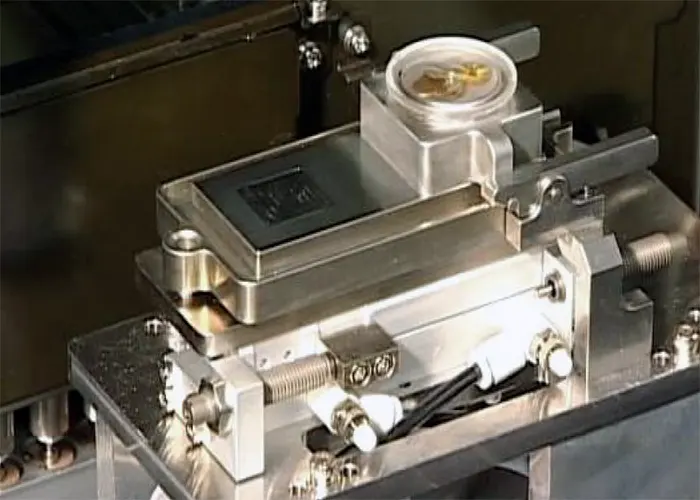
To prepare for component dipping with solder paste, it is crucial to start with a level reservoir. When using manual prototype equipment, adjust the blade height to 1/3 of the component’s sphere diameter. Apply 1/3 of the required amount of paste to fill the area between the reservoir and the blade, allowing the blade to level the material. Repeat this process for the next 1/3 of the paste, and then add the remaining amount to the reservoir. Finally, cycle the leveling blade a few times and observe the solder paste in the tray.

Excessive paste or flux application can cause material buildup around the perimeter, leading to a wavy or cratered surface. Adding more paste or flux can alleviate this issue. However, failure to address craters in the solder paste can result in inconsistent solder transfer efficiency. A well-formulated dipping paste should have a smooth appearance after leveling, which is influenced by the Package-on-Package solder paste’s lower metal loading and leveling blade design.
Dipping the components
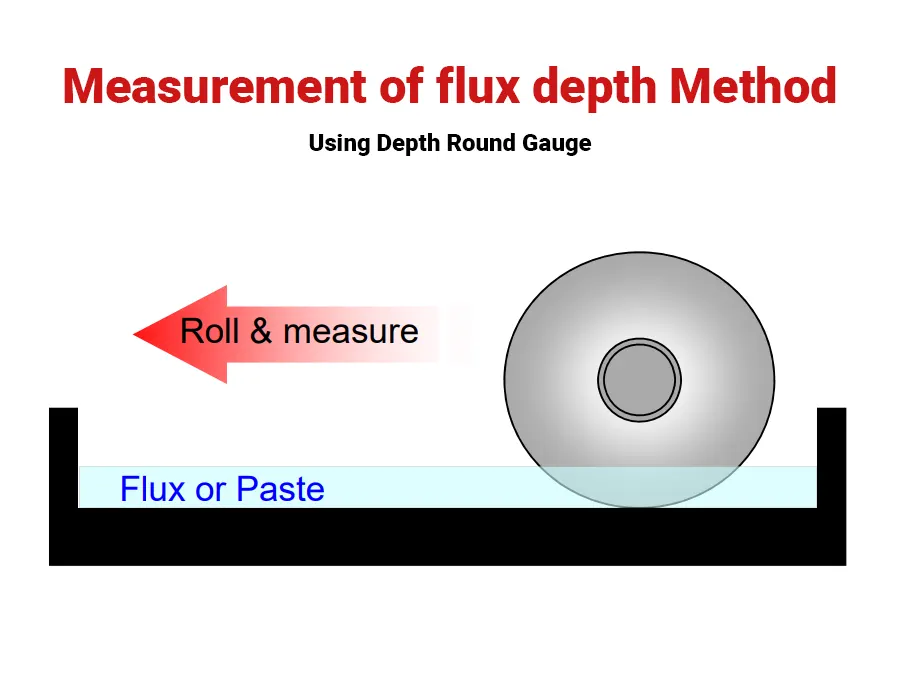
To ensure proper dipping of a component, it is important to confirm that the solder paste or flux has the correct consistency and is evenly spread throughout the flux reservoir. One way to check this is by utilizing a film depth gauge.


To begin, take a Package-on-Package component from its tray and position it directly over the solder paste or flux it will be dipped into. Make sure that the surface of the paste or flux is smooth and even by checking it again. Once you have confirmed this, dip the component into the reservoir and allow it to reach the bottom. Afterward, take the component out of the reservoir and examine the imprint that has been created by its solder spheres. If you notice any distortions or incompleteness in the imprint, it could indicate an issue with either your material depth or co-planarity.
When the pattern appears distinct and uniform, proceed with the placement of the component. Make certain to even out the flux reservoir after each step by either moving the blade forward (in a linear tray) or rotating the reservoir (in a rotary tray).
Pick and Place the Components
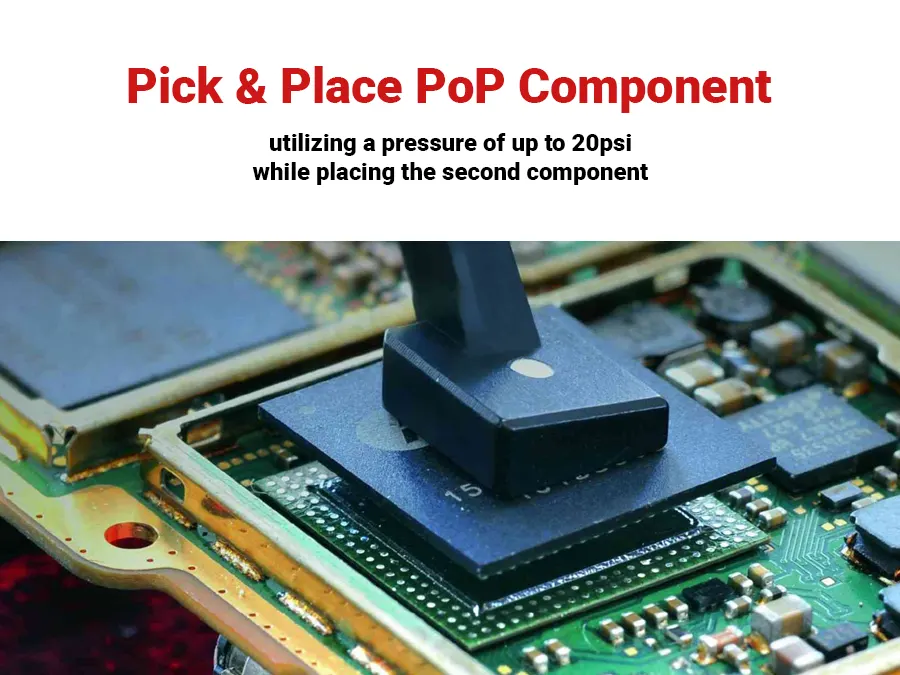
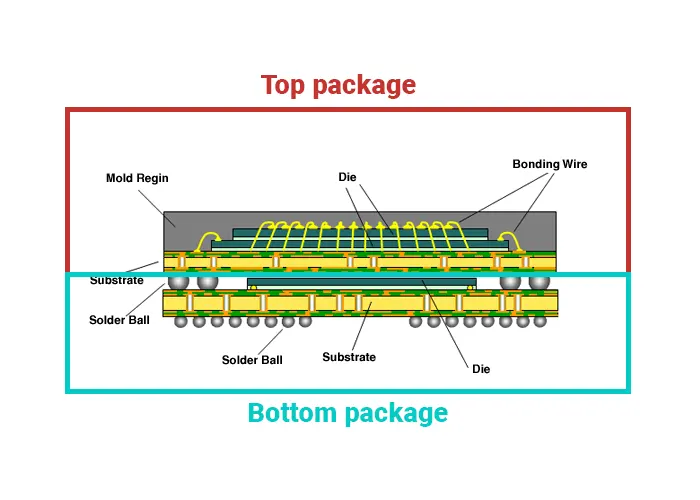
Placing Package-on-Package components in a stack is a simple task during assembly. While the solder paste and flux used for each component may vary, applying up to 20psi of pressure should not cause any problems when placing the second component. The stacking process is similar to standard SMT placement, but it’s important to confirm that your placement machine can handle the slight difference in height. It is essential to use appropriate Package-on-Package solder paste for this process.

Transport the finished products
The recently assembled component stack is susceptible to misalignment and oxidation. To combat this, we have taken proactive measures by offering Package-on-Package solder pastes and fluxes with strong adhesive properties to secure the components in typical situations. Additionally, our flux is designed to safeguard the solder from oxidation during transportation and reflow. While automated conveyors are recommended, exercise caution when handling stacked packages.
Refer PROSTECH PoP Assembly Solder Paste and Flux
Reflow Profile
To ensure proper soldering, it is recommended to follow the reflow profile provided by your solder manufacturer. If there is a risk of components touching the oven curtains during the process, it is advisable to use a cage for protection. When using solder paste for Package-on-Package assembly, some voiding may occur, which is a compromise for achieving higher solder volume compared to using ball attachment flux.
Or this information can be found in the Technical Data Sheet (TDS) of almost solder paste/ soldering materials in Prostech.


